Fungi Ally Mushroom Sawdust Spawn
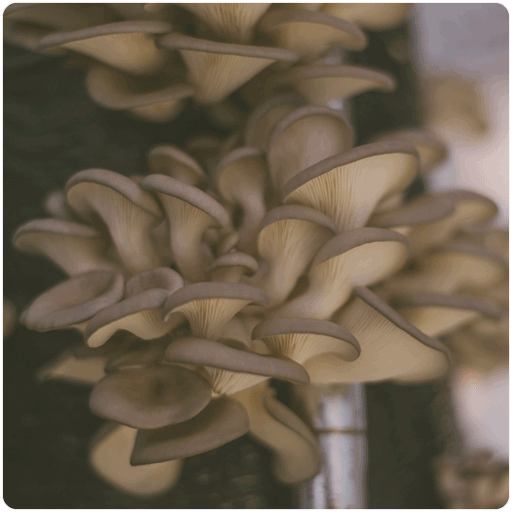
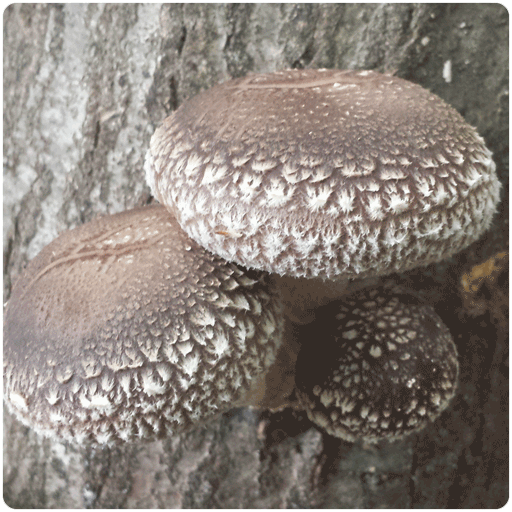
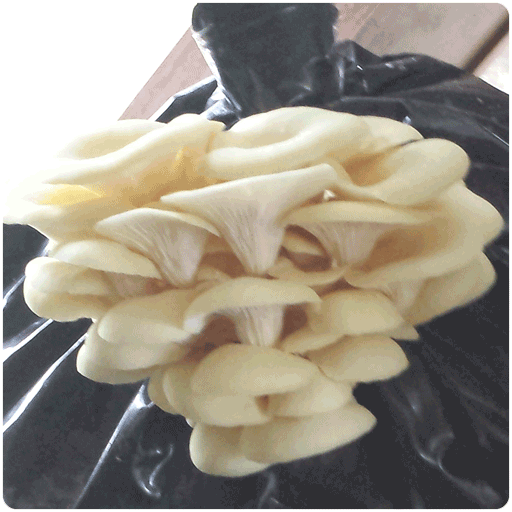
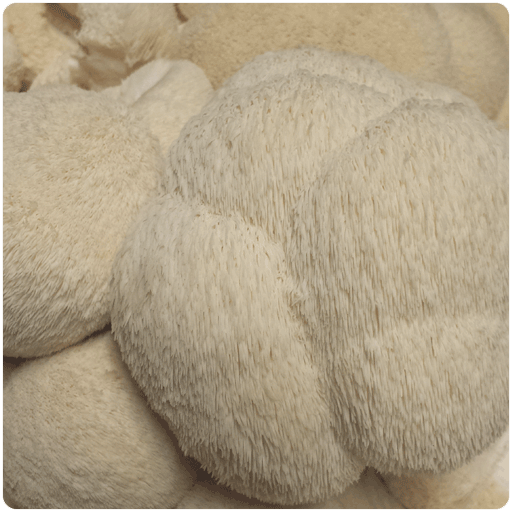
is great to use for outdoor inoculations including logs, totems, and woodchips. If you have a garden then this is a great spawn option for you to inoculate parts of your garden beds or the walking paths through the garden. The small particle size of this spawn allows for fast growth onto the inoculated substrate. Our sawdust spawn is grown in a sterile lab and produced year round to ensure you get the highest-quality, fresh mycelium. Sawdust spawn is available for shiitake mushrooms, blue oyster mushrooms, yellow oyster mushrooms, wine cap mushrooms and lion’s mane mushrooms. Spawn may take 2-3 weeks to ship during during high order volume times in the spring
Inoculating with sawdust spawn is extremely easy for wood chip beds. When using sawdust spawn for logs you also need to purchase a palm inoculator. Always store spawn in the fridge after receiving it if you do not use it immediately.
For Wood chip inoculation, Wine cap and Oyster mushrooms:
Fresh hardwood wood chips can be inoculated with either wine cap or oyster mushroom sawdust spawn. Sawdust spawn is typically used because grain spawn will be eaten by bugs and other critters if used outdoors. These mushrooms have evolved to grow on hardwoods so avoid pine and other conifers, you can also use hardwood fuel pellets to create outdoor beds, simply rehydrate them and inoculate! The best time to make a bed is in the beginning of spring. You can inoculate anytime through the growing season until about 30 days before first frost. If inoculating in the summer be sure to water as needed. Step by step inoculation process for outdoor beds:
1) Get about 1 yard of fresh cut hardwood wood chips. These can be picked up from local municipalities, tree companies, arborists, firewood processors, or lumber mills. It is important the wood chips are FRESH and HARDWOOD. Pine, hemlock, and other softwoods will not grow wine caps. The wood chips should be less than 1 month old unless you receive them in the winter.
2) Find a spot in partial sunlight to full shade. In the shade of perennials, under conifers, or where water travels during heavy rainfall are great places to locate your bed.
3) Break the sawdust spawn apart into small piece. One bag of spawn can inoculate anywhere from 5x5 feet to 10x10 feet.
4) Lay down a layer of cardboard and sprinkle with the wine cap spawn. You only need a small amount of spawn like putting sprinkles on ice cream.
5) Place 2-3 inches of wood chips on top of the spawn. Add another layer of spawn and then another layer of 2-3 inches of woodchips.
6) Soak the bed with water. You can place cardboard or straw on top of the bed to
conserve moisture.
7) Allow the mycelium about 6 months to grow out and inhabit the wood chips. You
should be able to dig into the chips and see thick white ropey mycelium. Mushrooms typically fruit towards the edges of the wood chips in late May and again in September.
8) Harvest when the cap begins to curl away from the stock and gills are just starting to become visible.
For log inoculation:
Log Selection - The first step to mushroom cultivation on logs is cutting and selecting logs to grow on. Logs are best cut between November and March. In trials logs that were cut in October and allowed to sit until April for inoculation had much faster spawn run than logs cut later in the winter. In some cases logs were fruiting in the same year as inoculation. It is okay to cut at any time of year but yields and colonization time are affected. A Cornell study showed yields were highest from logs cut and inoculated in winter and spring respectively and from logs cut in the fall and inoculated the fall of the following year. Cornell did not look at cutting in the late fall and inoculating in the spring. The best results are achieved when logs are sourced in the fall when 30% of leaves have changed color. If logs have been sitting for 2+ months it is good to rehydrate them before inoculating by soaking them in water for 3-6 hours. The bark of the logs should be as intact as possible; avoid logs with large strips of bark removed. Dense hardwoods like oak, sugar maple, and beech are great species to use. Logs with a diameter of 3-8 inches that are about 4 feet long are ideal. Logs will be moved several times during the cycle of growing shiitake so sizes that are reasonable to move are important. Smaller logs colonize and fruit faster than larger logs. The last factor to think about during log selection is the ratio of sapwood to heartwood. Logs with a higher ratio of sapwood will offer more food for the mushrooms to digest and offer a larger yield.
Source Spawn- Sourcing strain and spawn is a key factor in abundant fruiting. Using LE46 on logs is recommended. A 5-pound bag of mushroom sawdust spawn can inoculate about 25 logs. Mushroom sawdust spawn tends to grow out faster than the dowels but requires a specialized tool called a palm inoculator.
Drill Holes- For mushroom sawdust spawn, use a 12 mm drill bit. If you are just inoculating two or three logs a regular corded drill will work fine. If you are inoculating 25+ logs and plan to do this year after year it is worth it to purchase a modified angle grinder. The angle grinder runs at about 10,000 rpm while a drill runs around 3,000 rpm. This makes the angle grinder MUCH easier and faster - similar to the difference between using a screwdriver and a drill! To drill the holes, start about 1 inch away from the end of the log. Drill again 6 inches down the log. Continue to space holes every 6 inches down the length of the log. Start the next row of holes 2 inches away from the previous row, spinning the log around. The holes should be offset, so now you are drilling 2 inches below the original line and in the middle of the previous holes. Drill holes all the way around the circumference of the log so you end up with a diamond pattern.
Inoculate- This is the point where you add spawn to the log. Break the mushroom sawdust spawn up with your fists or open palm before opening. Work the spawn into little pieces that can easily fill the palm inoculator, be sure to fill the holes completely with spawn. This usually means stabbing the spawn 2 or 3 times and then inoculating each hole one at a time. When the spawn is slightly sunken below the surface it makes a nice area for the wax to pool and seal. This sunken seal will stay protected and last longer than wax that is protruding outside the layer of bark.
Wax- Melt wax and seal the holes with the hot wax. For the waxing process, cheese wax or beeswax is typically used. These waxes hold form as temperatures fluctuate and are a much better option than clay or paraffin wax which tend to crack. If the wax cracks or little pin holes are left, spawn can dry out and die. The wax prevents the spawn from drying out and keeps other fungi out of the log. Depending on the scale of operation, wax can be applied with a cotton ball type material on the end of a stick, a paint brush, or a specialized tool for applying wax.
Storage and Maintenance- Logs should be kept out of the sun and wind. North sides of houses and sheds are good places. Under conifer trees is a great place to store your logs. Keep the logs off the ground on pallets or resting one end on another log. If the logs seem to be drying out, soak them for 4 hours. You can tell they are drying out if the cracks on the end easily allow a dime to be inserted into them. Spawn run typically takes 12-18 months.
Fruiting- After 12-18 months the mycelium should be grown throughout the entire log.The fruiting period in New England is between June and September. In late June of the year after inoculation, soak the log for 24 hours. Mushrooms should fruit within 7-10 days. Harvest, rest the log for 7-10 weeks, then soak and harvest again. This can be repeated 2-3 times a year. Depending on the diameter of the log, it will continue to fruit for 3-7 years!


